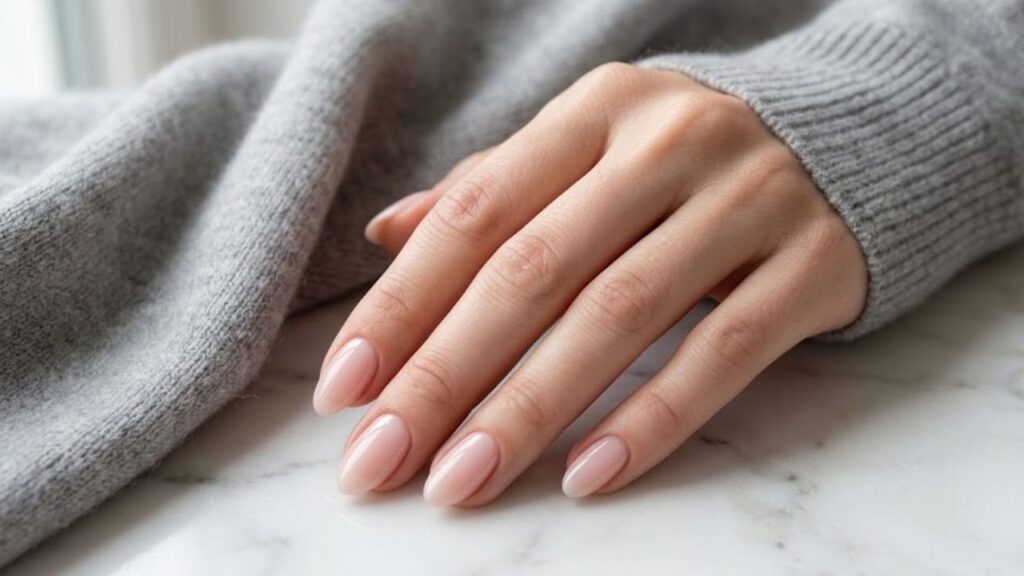
After spending an hour of your valuable time meticulously polishing your nails to a color you’re really excited about, you may discover that they are already chipping days or even hours later. What’s going on? A typical manicure should last roughly a week, so if you’re experiencing chipping before then, there may be space for improvement. Use these expert manicurist tips the next time you do your nails to prevent nail polish chipping and prolong the enjoyment of your manicure.
Three main factors are responsible for chipping or peeling nail polish: inadequate preparation subpar polish, and skipping a superior topcoat What to do instead is as follows.
Making sure your manicure lasts requires a lot of preparation. Consider how long it takes a manicurist to complete the polishing portion of your appointment.

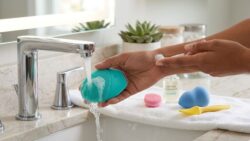
Step 1: Washing up
According to celebrity nail artist Elle Gerstein, “the prep has to be done done beforehand and it has to be perfect in order to make a manicure look great and last.” “Start by using an antibacterial soap to scrub your nails; consider it similar to washing your face.”
Step 2: Use Alcohol
Gerstein advises applying isopropyl alcohol 75% or higher to each nail bed after allowing your nails to fully dry For this, you can paint it on with a nail brush or use a cotton ball or Q-tip.
She says, “This will act like an astringent and bring your nail to the proper pH level while eliminating any dust and debris from your nail A perfect, ultra-glossy, long-lasting, and quick-drying manicure will result from this.”
 Jelly Nails Manicure Trend Rising Fast Stylish Look That Matches Any Outfit Mood or Occasion
Step 3: Put on a Sticky Base Coat
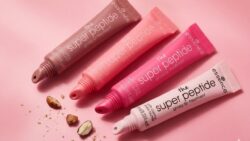
According to Gerstein, applying a rubbery sticky base coat is also part of the proper preparation Brands frequently create base coat, nail polish, and top coat formulas that complement one another, so if you have a favorite think about sticking with it.
Pro Tip Don’t do anything with your hands such as running them through your hair scratching your face, or doing chores, after applying alcohol and before applying your base coat Your nails will re-accumulate oil and debris, making them a poor foundation for future treatments.
Step 4: Use Thin Layers to Paint Your Nails
Putting some color on your nails is now the exciting part Use even, thin layers of your color polish. (Thick coats are more likely to chip.) Applying two or three thin coats is preferable to applying one thick coat. Before applying the next layer, let each one fully dry Expert Advice: Use the nail polish brush to cap the tips of your nails. This keeps the polish from lifting and helps to seal it.
 February Nail Colors Trending: Beauty Pros Share the Most Requested Manicure Shades Right Now
Step 5: Apply a Top Coat to Seal
Gerstein then advises applying a stunning top coat to complete the look It’s sufficient to apply one or two thin coats, and you can also cap the edges here. After letting your nail polish fully dry and cure, proceed with your daily activities Wear gloves when cleaning or doing the dishes, and try not to do anything too forceful with your nails to make the most of your manicure.
 Amazon Weekend Deals: 8 Editor-Loved Picks Starting From 10 Dollars Beauty Fans Are Snapping Up